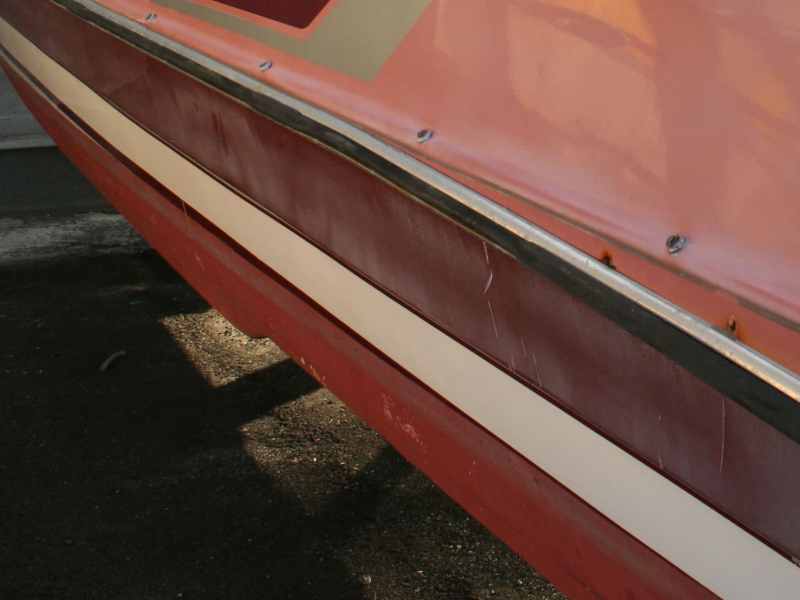
Over time, even the shiniest boat will turn faded and dull as its gelcoat oxidizes. UV exposure is the culprit, and as chalky oxidation fills the gelcoat’s microscopic pores and cracks, that once-lustrous shine will slowly dwindle away. But all is not lost. If, that is, you know how to restore the gelcoat on a boat.
Step 1: Remove the Oxidation
This is a very simple, but very labor-intensive process. You’ll need to get oxidation remover, a power buffer and plenty of bonnets. Whatever you do, don’t eschew the power buffer and try to tackle this task manually. You’d need to firmly rub in circles tens of thousands of times to de-oxidize even a relatively small boat, and unless a severe case of tennis elbow sounds like fun, that buffer is a must-have for this work.
Before you begin buffing, tape off any fittings, the rubrail and anything else that could be damaged by the abrasives in the oxidation remover. Next, squirt a dose of it onto the bonnet, hold it up against the hull side, and pull the trigger. Again, and again, and again, until that hull begins to gleam once more.
Tip: Be careful not to hit the power button on the buffer before it’s placed firmly against the gelcoat. Do so, and its orbital motion will sling the viscous liquid in every direction.
Plan on spending hours of buffing to get rid of the oxidation, noting that the worse the damage is, the more work it will take. Also remember that the buffer won’t reach all of the tight spots, like under the rubrail or lips in the hull side. Once the large areas are completed, you’ll have to attack the parts you couldn’t reach by hand. Even though it may be a tiny fraction of the surface area of the hull, rubbing these free of oxidation can take hours or even days.
Step 2: Wash the Boat and Give It a Close Visual Inspection
Next, you’ll want to wash the boat and give it a close visual inspection. Then, get ready to attack it with the oxidation remover again. You’ll almost certainly see some areas where the oxidation remover obscured your view and some cloudiness remains in the gelcoat.
Step 3: Apply the First Coat of Protective Wax
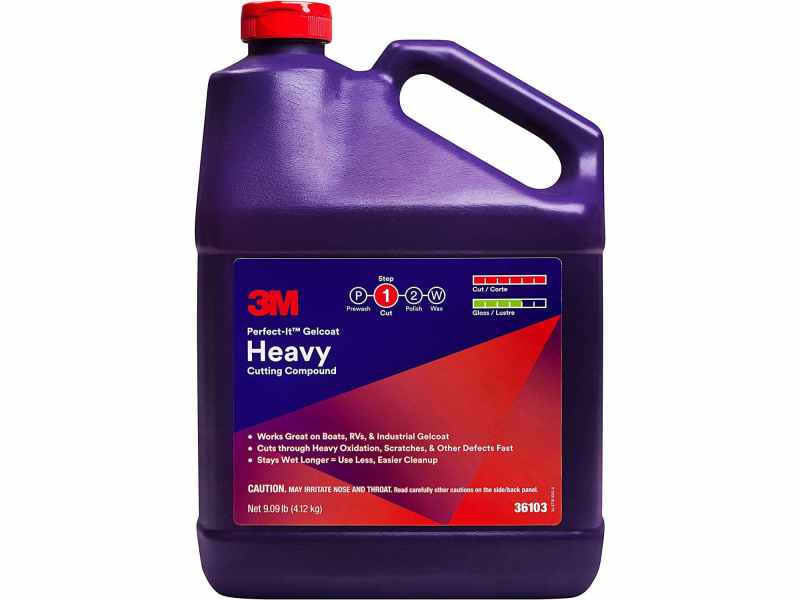
Is that gelcoat shining like new? Great. But it won’t stay that way for long, because now fresh, unprotected gelcoat is exposed to the sun and the air. It began deteriorating the moment you washed away the last of the oxidation remover. Now, you need to cover it up with a protective coat of wax. Use thick paste wax. It lasts the longest and provides the best UV protection. Time to start rubbing again.
Step 4: Apply the Second Coat of Protective Wax
You knew we were going to tell you to wax the boat a second time, right? One coat simply doesn’t cut it, because there are always areas where the wax coat is too thin or were missed entirely on the first go-round.
Step 5: Apply the Third Coat of Wax, This Time Carnauba
The gelcoat may be protected now, but it’s not shining as brightly as it could be. To get the very best finish, you’ll now want to do a third waxing. But this time, use a liquid carnauba wax. This stuff gives the best shine, and although it won’t last as long as a paste wax, it will give that gelcoat a gleam that can’t be beat.
Read Next: Stripping Bottom Paint from a Boat
Step 6: Maintain the Restored Gelcoat
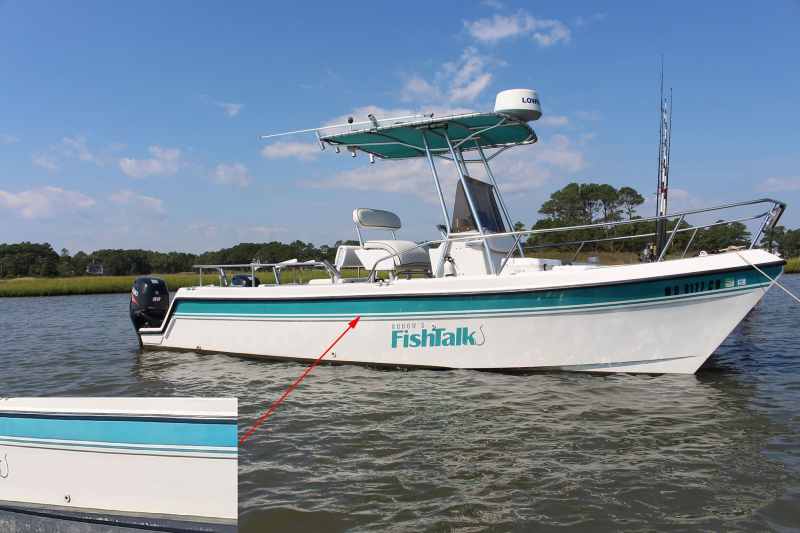
Maintain the shine. That means keeping the boat clean and reapplying the carnauba wax every few weeks. At least twice a season, give it another base coat with the paste wax, too. As long as you do so, you’ll keep the oxidation at bay. But, if you let a few months go by without waxing, the shine will begin to wither once again.


