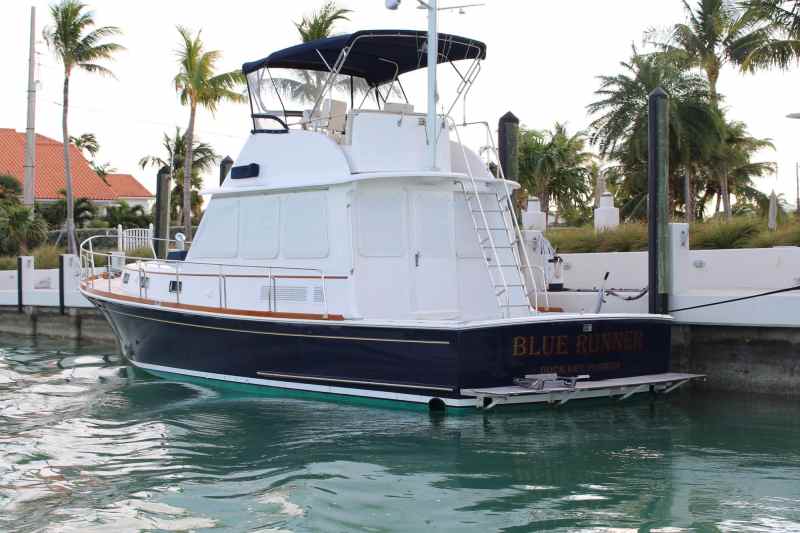
Painting a fiberglass boat is a bit different from painting a house or a car, but any relatively handy DIY boat owner can get the job done. And once it’s done, the boat should gleam like never before. So, just how does one paint a fiberglass boat? The process breaks down into three basic steps:
- Choosing the right paint
- Prepping the surface to be painted
- Applying the paint
Choosing the Right Paint for a Fiberglass Boat
Paint for boats is very different from the paint one would use for other jobs, and when painting a boat you may even need to use more than one kind. The best paint for use on the hullsides and gelcoat is very different from the paint used for decks, and antifouling paint used on the hull bottom is yet another different variety.
Paints with shiny finishes for use on gel-coated areas include single-part enamels, single-part polyurethanes and two-part polyurethanes. Single-part enamels are used most commonly because they’re easy to apply and inexpensive. Single-part polyurethanes are also easily applied and their shine lasts longer, but they’re more expensive. Two-part polyurethane paint looks as good, or even better, than a boat’s original gelcoat when applied properly, and most people would agree that they provide the best overall results. However, they’re significantly more expensive than the other options, require special primers, have to be carefully mixed and can only be applied in the proper temperature and humidity ranges.
Paints used for decks and other surfaces that regularly see footsteps include some non-slip properties, often in the form of tiny rubberized pellets or beads. These paints won’t give you the blindingly bright finish of the ones used on a boat’s hull sides, but they are generally very easy to apply and provide a grippy surface.
Bottom paints with antifouling characteristics are entirely different. There are countless versions to choose from, but they boil down to “hard” paints and “soft” (ablative) paints. Hard paints are usually best for boats that are performance-oriented, but paint buildup can become a long-term issue. Ablative paints wear away as the boat gets used, but if a boat sits motionless in the slip for weeks or months at a time, it can lose its effectiveness. In both cases, a biocide is mixed in with the paint to prevent marine growth. Different bottom paints work better in different environments, and specific types may be regulated or even banned in certain waterways, so before choosing a bottom paint it’s best to consult with a professional in your specific area and find out what they recommend.
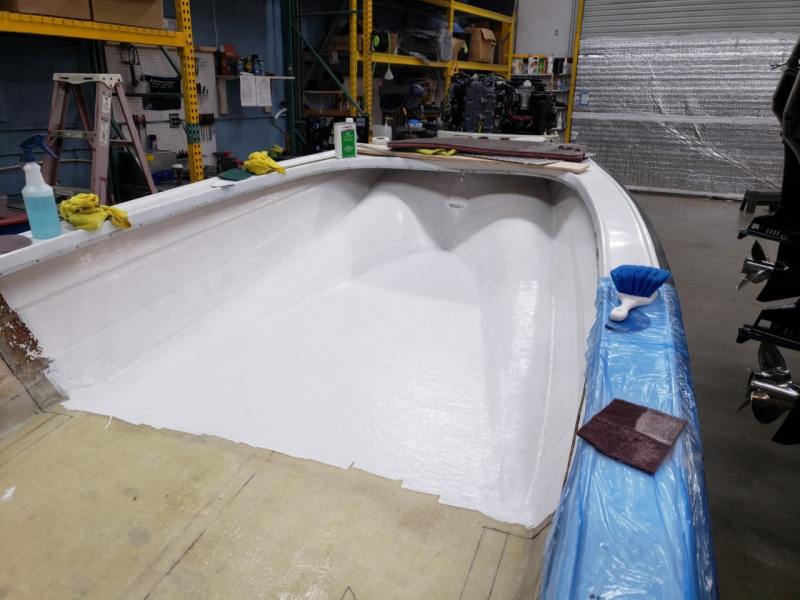
Prepping a Fiberglass Boat to be Painted
Regardless of which part of the boat you’re painting, or what type of paint you use, a general rule of thumb is always remember two critical things: the prep job is the most important part of any paint job, and follow the manufacturer’s recommended prep procedure because certain different products can have different specific requirements. That said, in all cases the paint preparation consists of:
- Fixing any scratches, gouges, or cracks. Remember, a fresh coat of paint won’t cover up imperfections, but instead is more likely to increase their visibility.
- Washing the entire boat from stem to stern to remove all contaminants.
- Protecting all hardware and/or fittings with painter’s tape, or removing it from the boat entirely, so you don’t accidentally damage or paint over stainless-steel, plastic, or wood items.
- Dewaxing all areas that have been exposed to wax.
- Thoroughly sanding and/or stripping the surface(s) to be painted, as per the paint manufacturer’s instructions.
- Cleaning away all sanding dust and/or stripping chemicals and materials.
- Applying the primer (if necessary, as per the manufacturer’s instructions).
Applying Paint to a Fiberglass Boat
With the prep work completed, it’s time to apply the paint. At this point, we’re going to say this one more time: follow the manufacturer’s recommended procedures. Each paint has its own application and curing characteristics, and it’s critical to do as the instructions suggest. That said, most glossy-surface paints can be applied with the standard roll-and-tip method of using a roller to apply to large surfaces, followed by using a brush to smooth out the paint. This is most effective when two people work in tandem, one with the roller and the other following along behind them with the brush. In the case of non-skid or bottom paints, it may not even be necessary and simply rolling it on then touching up the edges with a brush should do the trick.
After allowing the paint to dry or cure, you’ll probably want to paint on an additional coat or two. In most cases, two to three coats will be in order and always remember that multiple thin coats of paint generally tend to look a lot better than fewer, thicker coats.
If you’ve painted over a gel-coated area with a shiny finish paint, there’s one more step to add to the procedure. Once the final coat is dry, give it a couple of coats of a thick paste wax. This will go a long way in protecting that paint, and help ensure that your boat looks shiny and new for years to come.


